Creating Custom OS Profiles with UI
UForge provides a set of OS profiles. If you want to create another OS profile, you can create one using UForge’s graphical user interface.
Warning
You can delete packages but we do not guarantee that your OS profile will be functional.
To create a new OS profile:
Under the
Administrationtab go to theDistributionstab.Click on the operating system. This will provide the current list of profiles this operating system has.

Go to the
OS Profilestab.Click on
add os profilein the top right.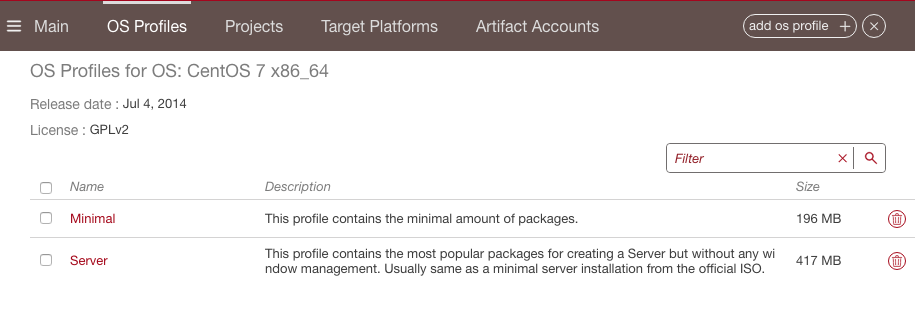
Select the profile which will serve as the base for your custom OS profile.
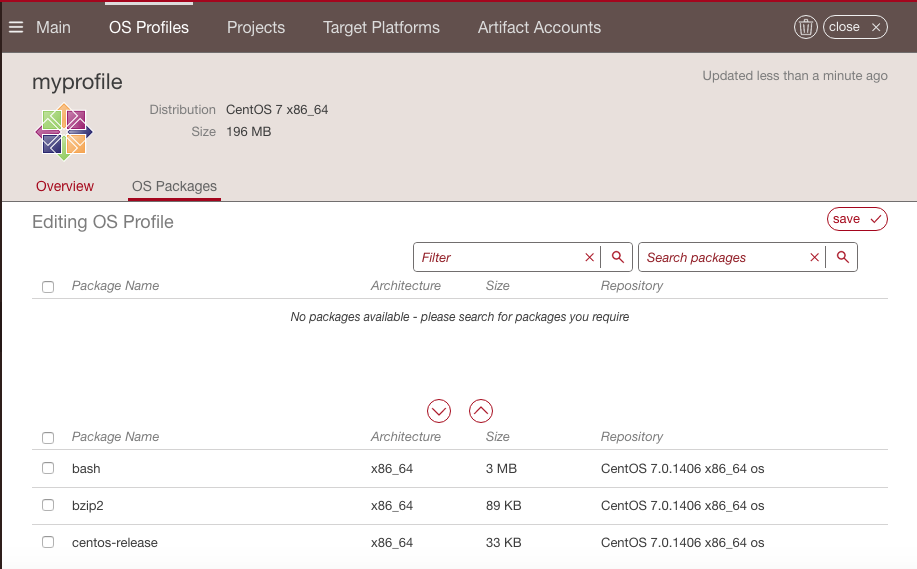
Enter your profile name and click
create.Search for the packages you want to add. Select the package(s) you want to add to your OS profile. The packages that you can add are listed in the top list. The bottom list is the list of packages that are currently part of the profile.
Editing Custom OS Profiles Using UI
If you have created a custom OS profile, you can edit it at any time.
Note
You cannot modify a profile provided by UForge.
Warning
You can delete packages but we do not guarantee that your OS profile will be functional.
To edit your OS profile:
Under the
Administrationtab, go toDistributions.Click on the operating system the OS profile is associated with.
Go to the
OS Profilestab you will see a list of the current profiles this operating system has.To modify the name or description, click on the pencil icon on the right hand side. A pop-up with appear. Modify and click
ok.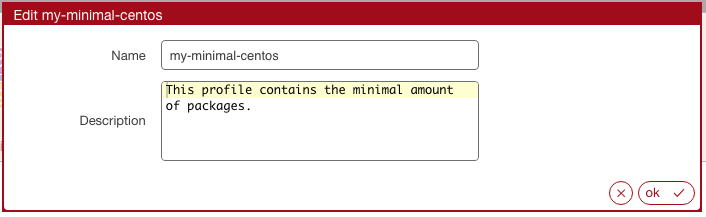
To modify the packages, click on the OS profile in the list.
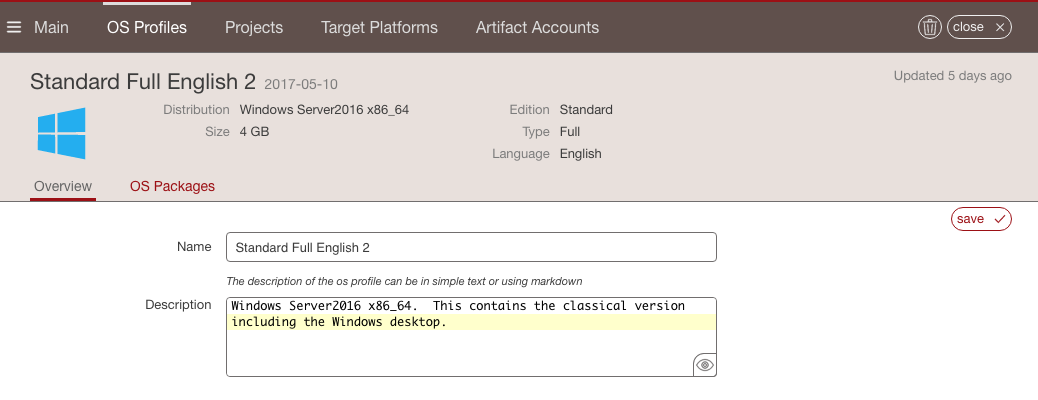
On this view, for Windows, you can see the distribution your OS profile is based on, its size, the date you created the OS profile in UForge (next to the OS profile name) as well as the last time it was edited.
Search for the packages you want to add. Select the package(s) you want to add to your OS profile. The packages that you can add are listed in the top list. The bottom list is the list of packages that are currently part of the profile.